Pronunciation Instructions
See exactly how your mouth, tongue and voice should move for every English sound — then record yourself and check.
Pronunciation Instructions
Pronunciation Instructions shows how to make each of the 42 sounds of English. Each sound has its own lesson.
Why pronunciation needs to be shown
Most of what the mouth does to make a sound cannot be seen. A student copying a teacher sees the lips and hears the sound, but cannot see where the tongue is or whether the voice is on. A student who cannot see what to change keeps guessing.
What each lesson shows
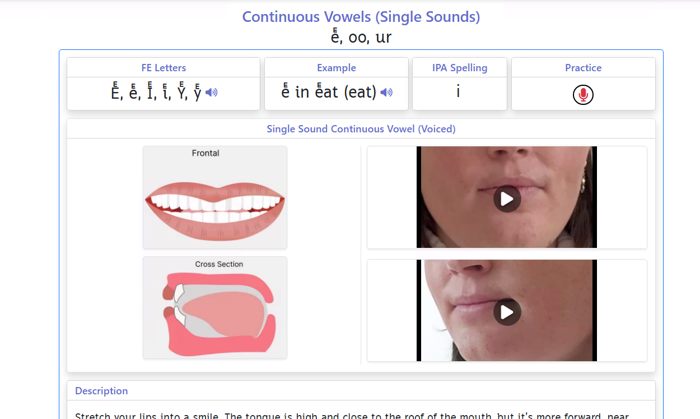
- The Fonetic English characters that make the sound, an example word and the IPA symbol.
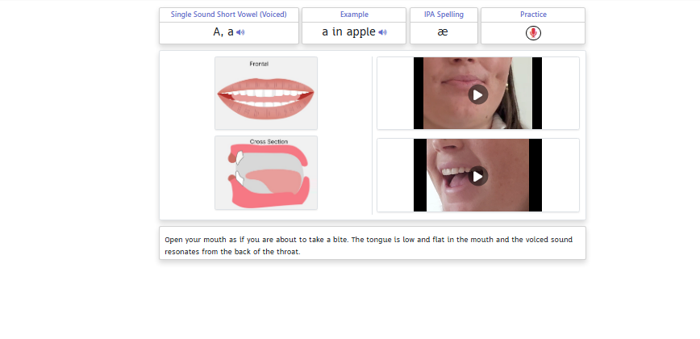
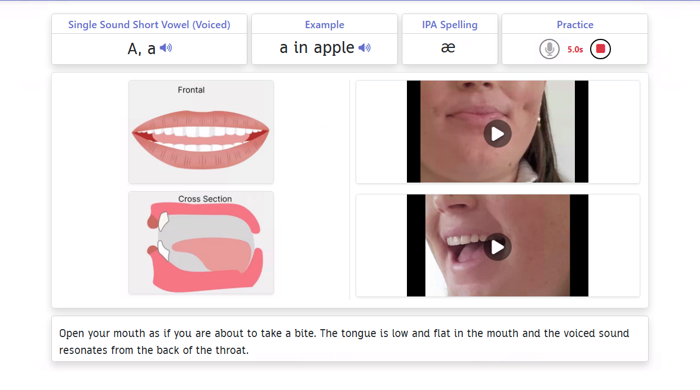
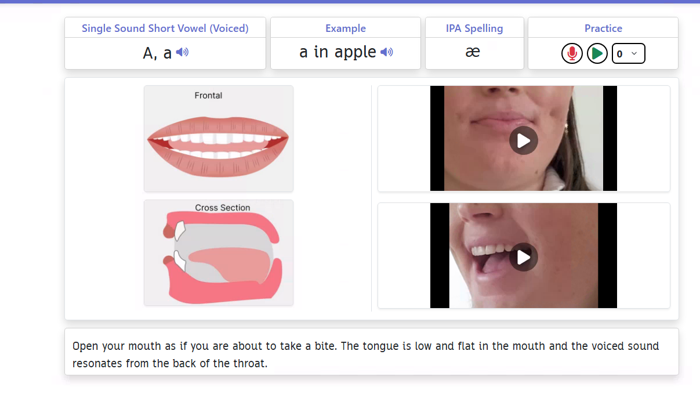
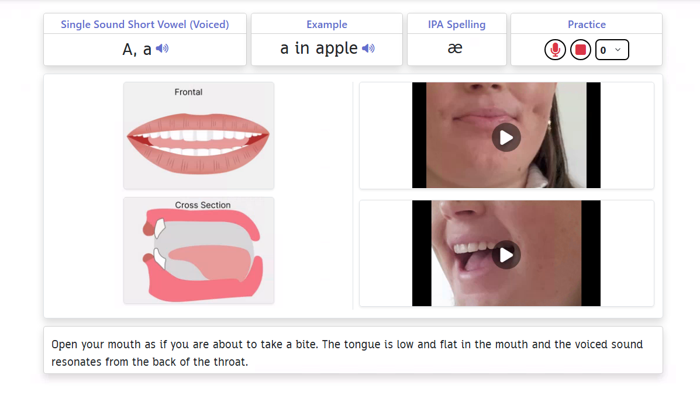
- A drawing of the mouth from the front and a drawing of the mouth in cross section. The cross section shows where the tongue goes.
- Videos of a person making the sound, from the front and from the side.
- A description of what the lips, tongue and voice do.
Compound sounds are taught step by step
Some English sounds are made from two movements. The /ch/ in cheese starts as /t/, with the tongue behind the upper teeth, and moves immediately to /sh/. The /w/ in wind is made from /oo/ closely followed by /u/. For a compound sound, the lesson shows each step separately, then shows the two steps combined into one sound.
Voiced and unvoiced sounds
The main page explains voiced and unvoiced sounds. A student who puts their fingers on their throat and says Sss, then Zzz, feels the difference. The voice box is still for s and vibrates for z. Many English sounds come in voiced and unvoiced pairs, such as f and v, s and z, p and b, and the two th sounds in thumb and them.
Finding a sound
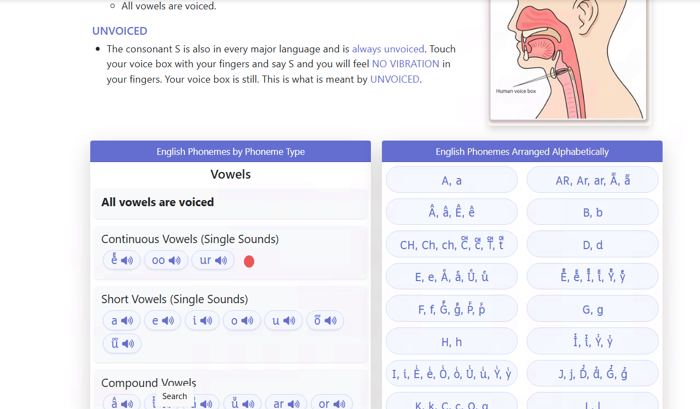
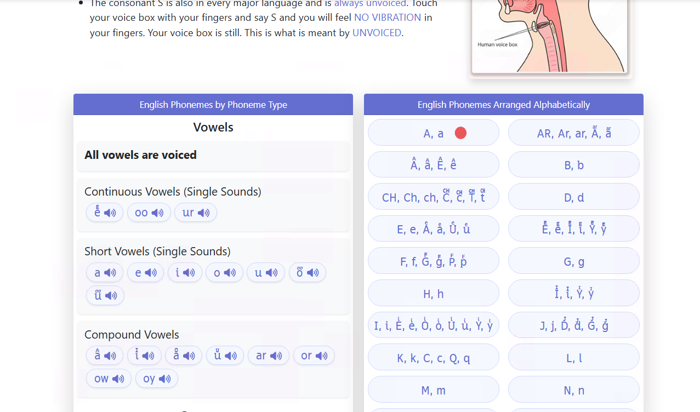
The main page has two lists. The first list arranges the English sounds by type, such as short vowels, long vowels and consonants. The second list arranges the sounds alphabetically. Clicking any sound opens its lesson.
Record and compare
Each lesson has a Practice box with a red microphone. The student records the sound, plays the recording back and compares it with the reference sound. Students hear their own pronunciation from the outside, which is very different from hearing their own voice while speaking. A student can record as many times as needed.
Watching the mouth
A student can open the computer’s camera in one window and Pronunciation Instructions in another. The student watches the video, makes the same mouth shape and compares the two.
Who it helps
Pronunciation Instructions is central for students learning English as a second language, particularly in the first lessons. A student whose native language does not have a sound has never made that sound before. Pronunciation Instructions shows the student how to make it. Native English speakers use the tool much less. Tutors can use the lessons in class and set them as homework.
Who is this for?
This tool is for anyone who has a sound that just won't come out right, no matter how many times they try.
Some English sounds are tricky because you can't see what the mouth is doing inside. Here you get pictures, videos and a plain description of exactly where to put your tongue — so you're not guessing any more.
What will you learn?
Pronunciation Instructions takes English apart one sound at a time. Here's what you get to do:
- See pictures of the mouth from the front and from the side, so you know where your tongue goes.
- Watch short videos of a real person making the sound.
- Record yourself trying it and play your voice straight back.
One sound at a time is plenty. Come back to a tricky one tomorrow — mouths need practice just like hands do.
How to use it — step by step
Step 1 — Find Learning Activities
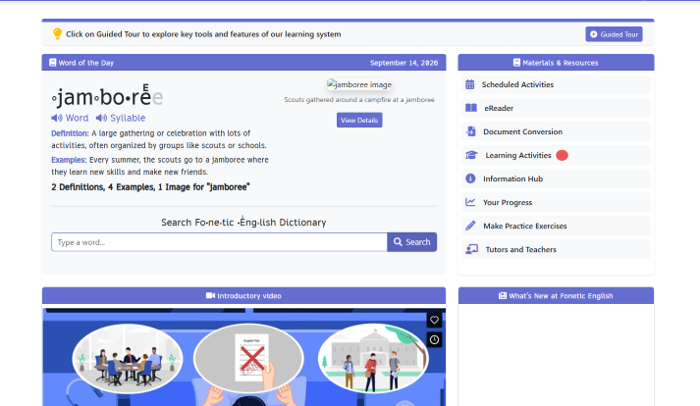
When you open the app, look at the list on the right called Materials & Resources. Every line is something you can do. Click Learning Activities to open the full list.
Step 2 — Click “Pronunciation Instructions”
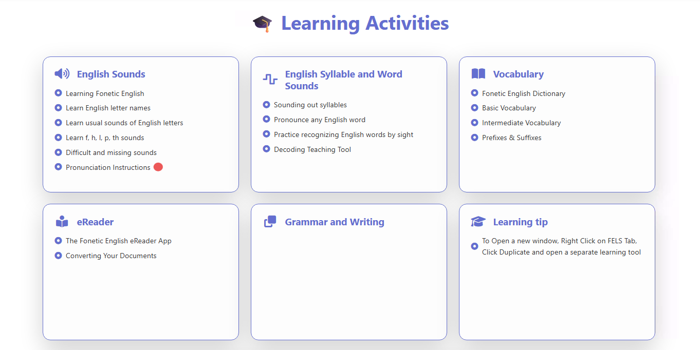
A page of cards appears. Find the card called English Sounds and click Pronunciation Instructions at the bottom of it. That's where all the sounds live.
Step 3 — Pick a sound from the phoneme-type list
The top of the page explains voiced and unvoiced sounds — put your fingers on your throat and say Sss, then Zzz, and you'll feel the difference. Below that are two lists. In the left one, English Phonemes by Phoneme Type, the sounds are sorted into groups like long vowels and short vowels; click any sound to open it.
Step 4 — Meet the sound's page
At the top you'll see the letters that make the sound and a word that uses it. Below are two drawings of a mouth — one from the front, one sliced down the middle so you can see the tongue — next to videos of a real person saying it. At the bottom there's a description telling you exactly what to do with your lips and tongue.
Step 5 — Press the red microphone and make the sound
In the Practice box on the right there's a red microphone. Click it and the app starts listening, with a timer counting the seconds. Copy what you saw in the video and make the sound in your clearest voice, then click the red square to stop.
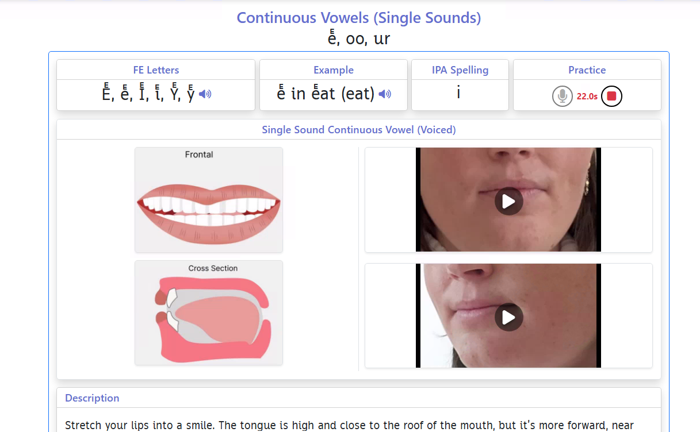
Step 6 — Press the green play arrow
Once you've stopped, a small green arrow appears next to the microphone. Click it to hear your own attempt played back to you. Hearing yourself from the outside is the whole point — it's very different from hearing yourself as you speak.
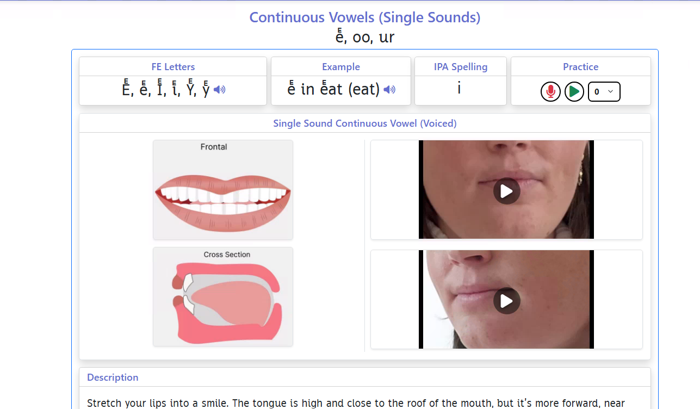
Step 7 — Listen carefully and compare
While your recording plays, the green arrow turns into a red square. Compare yours with the example word at the top, then look at the mouth pictures again. If it wasn't quite right, change one thing — your tongue, your lips — and record again.
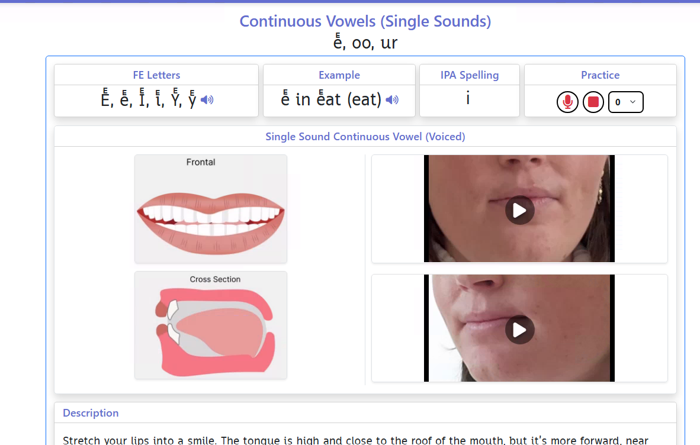
Step 8 — Try the alphabetical list instead
Scroll back to the two lists on the main page. The right-hand one, English Phonemes Arranged Alphabetically, sorts every sound from A to Z instead of by type. Use this one when you already know which letter you're after — click it to open that sound.
Step 9 — Press record on this sound too
This page works exactly the same way: letters, an example word, mouth pictures, videos and a description. Read the description first so you know what to aim for. Then click the red microphone in the Practice box.
Step 10 — Watch the timer while you speak
The timer next to the microphone counts up, which is how you know the app is listening. Say the sound clearly, then click the red square to stop. Short and clear beats long and mumbled.
Step 11 — Press the green play arrow
The green arrow appears once you've stopped recording. Click it to hear yourself say this sound. You can record over it as many times as you like — nothing is saved against your name and nobody is marking you.
Step 12 — Listen, compare, and pick your next sound
While it plays the arrow becomes a red square, just like before. When you're happy with this sound, scroll back to the lists and choose another one. Learning two or three sounds properly is far better than rushing through twenty.
Handy tip
Watch your own mouth in a mirror. Play the video, then make the same shape in front of a mirror and compare. Your mouth is doing something you can't feel but can absolutely see, and catching the difference with your eyes is usually much faster than guessing with your ears.